
Best Pool Fence: Your Complete Safety Guide for 2025
Every parent's worst nightmare is a child wandering toward the pool unsupervised. You installed that beautiful backyard pool for family fun, but now you're losing sleep over safety concerns.
Here's the truth: choosing the best pool fence can give you peace of mind and keep your loved ones safe. We'll show you exactly how to pick the right fence that balances security, style, and your budget.
Why Pool Fences Save Lives
Pool safety isn't just about following rules. It's about protecting the people you care about most.
Consider these facts: drowning is the leading cause of death for children ages 1-4. Most accidents happen when kids slip away for just a moment.
A best pool safety fence creates a barrier between curious children and danger. It gives you those precious extra seconds to react.
Types of Pool Fences
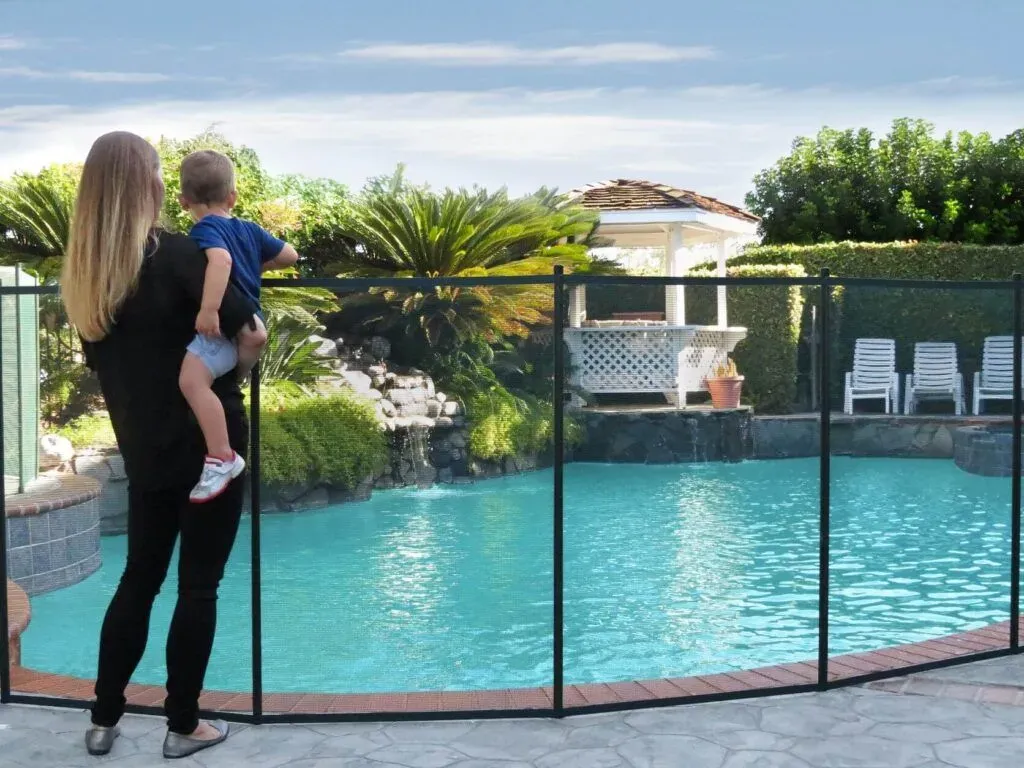
Mesh Pool Fences
These lightweight fences use strong mesh fabric stretched between poles.
They're popular because:
Easy to remove when not needed
Won't block your view completely
Cost less than permanent options
Come in different colors
Glass Pool Fences
Tempered glass panels create an invisible barrier.
Benefits include:
Crystal clear view of your pool
Modern, elegant appearance
Easy to clean and maintain
Wind-resistant design
Aluminum Pool Fences
Metal fencing offers maximum durability:
Strongest option available
Lasts for decades
Many style choices
Powder coating prevents rust
Vinyl Pool Fences
Plastic fencing provides good value:
Never needs painting
Won't rot or rust
Lightweight installation
Lower upfront cost
Key Safety Features to Look For
Proper Height
Your fence must be at least 4 feet tall. Many areas require 5 feet for new installations.
Self-Closing Gates
Gates should close automatically every time. This prevents someone from accidentally leaving it open.
Self-Latching Mechanisms
Latches should engage without help. Look for latches that work from inside the pool area only.
No Climbing Aids
Avoid horizontal rails or decorative elements kids can use as steps. Vertical designs work best.
Gap Requirements
Spaces between fence parts should be less than 4 inches. This prevents small children from squeezing through.
How to Choose Your Best Pool Fence
Step 1: Check Local Laws
Call your city building department first. Pool fence rules vary by location.
Some areas have very specific requirements about:
Minimum height standards
Gate specifications
Installation methods • Inspection requirements
Step 2: Measure Your Pool Area
Walk around your pool with a measuring tape. Include any hot tubs or spas in your measurements. Add 10% extra material for corners and gates.
Step 3: Consider Your Yard Layout
Think about how the fence will affect:
Traffic flow around your yard
Views from inside your house
Landscaping and garden areas
Property lines and neighbors
Step 4: Set Your Budget
Pool fences range from $15-$40 per linear foot. Calculate the total perimeter and multiply by your chosen fence cost.
Step 5: Pick Your Style
Choose fencing that matches your home's look:
Modern homes: glass or sleek aluminum
Traditional homes: ornate aluminum or vinyl
Casual settings: mesh fencing works well
Installation Process
Step 1: Mark Your Fence Line
Use spray paint to mark where posts will go. Most posts space 6-8 feet apart.
Step 2: Call for Utility Markings
Contact your local utility marking service before digging. This prevents accidents with buried cables or pipes.
Step 3: Dig Post Holes
Make holes 2-3 feet deep for most fence types. Use a post hole digger or rent a power auger for easier work.
Step 4: Set Your Posts
Place posts in holes and fill with concrete. Use a level to keep posts straight. Let concrete cure for 24 hours before continuing.
Step 5: Install Fence Panels
Attach panels between posts according to manufacturer instructions. Work systematically around the pool area.
Step 6: Install Gates
Mount gates last. Test self-closing and self-latching features multiple times before finishing.
Step 7: Final Safety Check
Walk around your completed fence looking for:
Gaps larger than 4 inches
Sharp edges or points
Loose connections
Proper gate operation
Maintenance Tips
Weekly Checks
Inspect your best pool safety fence every week during swimming season:
Test gate closing and latching
Look for loose screws or connections
Check for damage from weather or wear
Monthly Deep Cleaning
Different fence types need different care:
Mesh: rinse with hose, scrub stubborn spots
Glass: use glass cleaner and squeegee
Aluminum: wash with mild soap and water
Vinyl: clean with bleach solution if needed
Seasonal Maintenance
Before and after swimming season:
Tighten all hardware
Touch up paint on metal fences
Replace worn gate springs
Check concrete footings for cracks
Common Installation Mistakes
Wrong Post Spacing
Posts too far apart create weak spots. Follow manufacturer guidelines exactly.
Inadequate Concrete
Skimping on concrete leads to loose posts. Use proper amounts for your soil type.
Poor Gate Alignment
Gates that don't close properly defeat the whole purpose. Take time to get alignment perfect.
Ignoring Slopes
Sloped ground requires special techniques. Don't try to force straight panels on uneven terrain.
Cost Considerations
Budget Options ($15-20 per foot)
Basic mesh fencing
Simple vinyl designs
DIY installation
Mid-Range Choices ($20-30 per foot)
Quality aluminum fencing
Professional mesh installation
Decorative vinyl options
Premium Solutions ($30-40+ per foot)
Tempered glass panels
Custom aluminum designs
Full professional installation
Professional vs. DIY Installation
DIY Makes Sense When:
You have basic tool skills
Your yard is relatively flat
Local codes allow homeowner installation
You want to save money
Hire Professionals For:
Complex yard layouts
Sloped or difficult terrain
Glass fence installation
Areas with strict building codes
Permits and Inspections
Getting Permits
Most areas require permits for pool fence installation. The process typically involves
Submitting plans to building department
Paying permit fees ($50-200 typically)
Scheduling inspection appointments
Making any required corrections
Inspection Process
Inspectors check:
Fence height and gap measurements
Gate operation and safety features
Post installation quality
Code compliance overall
Insurance Benefits
Many insurance companies offer discounts for proper pool fencing. Contact your agent to ask about:
Premium reductions available
Required fence specifications
Documentation needed for discounts
Choosing the Right Contractor
Questions to Ask
When interviewing fence installers:
Are you licensed and insured?
How many pool fences have you installed?
Can you provide local references?
What warranty do you offer?
Will you handle permits and inspections?
Red Flags to Avoid
Don't hire contractors who:
Quote prices much lower than others
Demand full payment upfront
Can't provide proof of insurance
Don't mention permits or codes
Final Thoughts
Your pool should be a source of joy, not worry. Installing the best pool fence protects your family while preserving your peace of mind.
Remember, no fence replaces active supervision. But the right barrier gives you crucial extra protection when life gets busy.
Take time to research your options, follow local codes, and choose quality materials. Your investment in the best pool fence pays dividends in safety and security for years to come.
4. Maintenance Free Fencing

© 2026 | All Rights Reserved | Privacy Policy