
How to Build a Wood Fence: A Simple Step-by-Step Guide
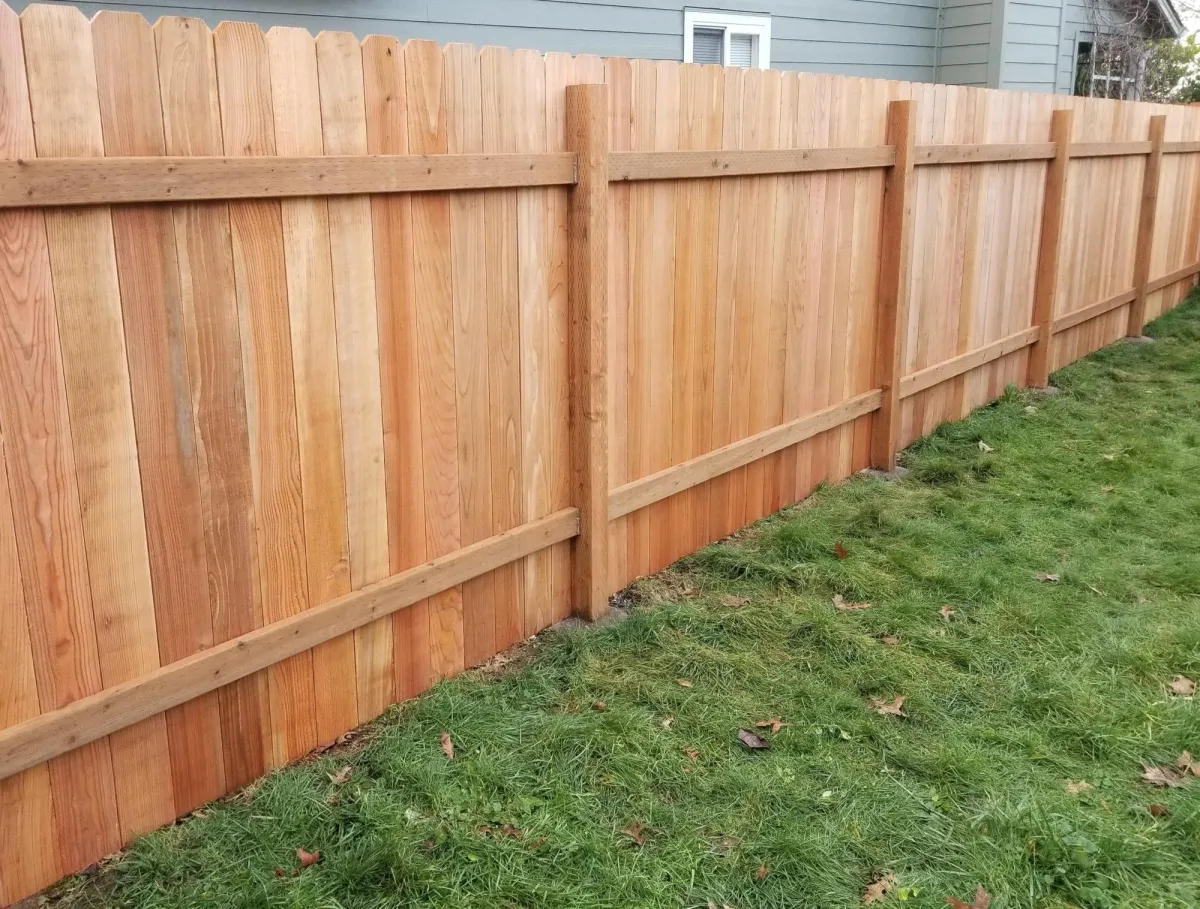
Have you been staring at your open yard wishing for more privacy? Or maybe you're tired of your dog finding new escape routes? A wood fence might be exactly what you need! Learning how to build a wood fence isn't as hard as you might think.
We understand that DIY projects can feel overwhelming at first. But with the right instructions, building your own fence can save you thousands of dollars and give you that wonderful feeling of accomplishment.
In this guide, we'll break down how to build a wood fence into simple steps anyone can follow.
What You'll Need to Build a Wood Fence
Before you grab your hammer, let's gather everything you'll need:
Tools:
Post hole digger or power auger
Circular saw
Drill with bits
Level (4-foot recommended)
Measuring tape
String line
Hammer
Wheelbarrow (for mixing concrete)
Shovel
Materials Needed
Wooden fence posts (4×4 or 6×6)
Fence rails (typically 2×4)
Fence pickets/boards
Concrete mix
Gravel
Galvanized nails or deck screws
Wood sealer or stain
According to Home Depot, pressure-treated pine is the most common and affordable wood for fencing, while cedar and redwood offer more natural resistance to rot and insects.
Step-by-Step Guide: How Do You Build a Wood Fence
1. Plan Your Fence Layout
First things first, you need a solid plan:
Check local regulations. Contact your local building department for permits and height restrictions. American Planning Association notes that most residential areas have specific fence height limits.
Mark your property line. Never guess where your property ends! Findlaw warns that building on a neighbor's property can lead to expensive legal issues.
Call before you dig. Dial 811 to have underground utilities marked. It's free and required by law in most states.
Mark post locations. Place stakes where each post will go, typically 6-8 feet apart. Run string between stakes to create a straight line.
USA Today reports that skipping permits can result in fines up to $1,000 in some areas.
2. Dig Post Holes
Now it's time to get your hands dirty:
Dig holes for each post. Make them about 1/3 the height of your post (a 6-foot fence needs holes about 2-3 feet deep).
Make holes wider at the bottom than at the top (like a bell shape). According to This Old House, this helps prevent frost heave in cold climates.
Add 6 inches of gravel at the bottom of each hole for drainage.
3. Set Fence Posts
Setting posts correctly is the most important part of how to install a wood fence:
Place posts in holes. Have a helper hold them straight while you check with a level.
Mix concrete following package directions. Most pros use "dry set" method: place post, add dry concrete mix, then add water.
Check posts are level and aligned with your string line before concrete sets.
Let concrete cure for 24-48 hours before moving to the next step.
Family Handyman suggests adding a slight slope to the concrete around each post to help water drain away.
4. Install Horizontal Rails
With posts secure, it's time to add the rails:
Mark rail positions on your posts. Most fences use 3 horizontal rails - bottom, middle, and top.
Cut rails to fit between posts using your circular saw.
Attach rails to posts using galvanized nails or deck screws. Better Homes & Gardens recommends screws for stronger connections.
Check that rails are level as you go.
5. Attach Fence Boards/Pickets
This is where your fence really takes shape:
Start at one end of your fence line.
Place a spacer between boards if you want gaps (or skip this for a privacy fence).
Attach boards to rails using 2 nails or screws per rail crossing.
Use a level to keep boards vertical as you go.
Cut the last board to fit if needed.
6. Add Finishing Touches
Final steps to complete your wood fence:
Trim post tops for a clean look (optional).
Sand rough edges to prevent splinters.
Apply sealer or stain to protect your wood. According to Consumer Reports, this step can triple the life of your wood fence.
Common Mistakes When Learning How to Wood Fence
Watch out for these common errors:
Not checking property lines. Always verify before building.
Skimping on post depth. Shallow posts will lean or fail quickly. This mistake isn't unique to wood, either — a poorly set chain link fence post is just as likely to lean or shift over time if it wasn't buried deep enough or set properly in concrete.
Using indoor screws/nails. Outdoor hardware must be galvanized or stainless.
Attaching rails to the wrong side. Rails typically go on the inside facing your property.
Forgetting to seal the wood. Untreated wood will rot much faster.
Conclusion
Building your own wood fence is a rewarding project that adds value and function to your home. With our step-by-step guide, you now know how to build a wood fence that will stand strong for years to come.
We hope these instructions give you the confidence to tackle this project! Remember that taking your time with the post installation is key to success. A properly built wood fence can last 15-20 years with good maintenance, making your efforts well worth it.
4. Maintenance Free Fencing
If you're in Tampa, Spokane or Longview check our local service page for pricing.

© 2026 | All Rights Reserved | Privacy Policy