
How to Install a Chain Link Fence: Easy Step-by-Step Guide
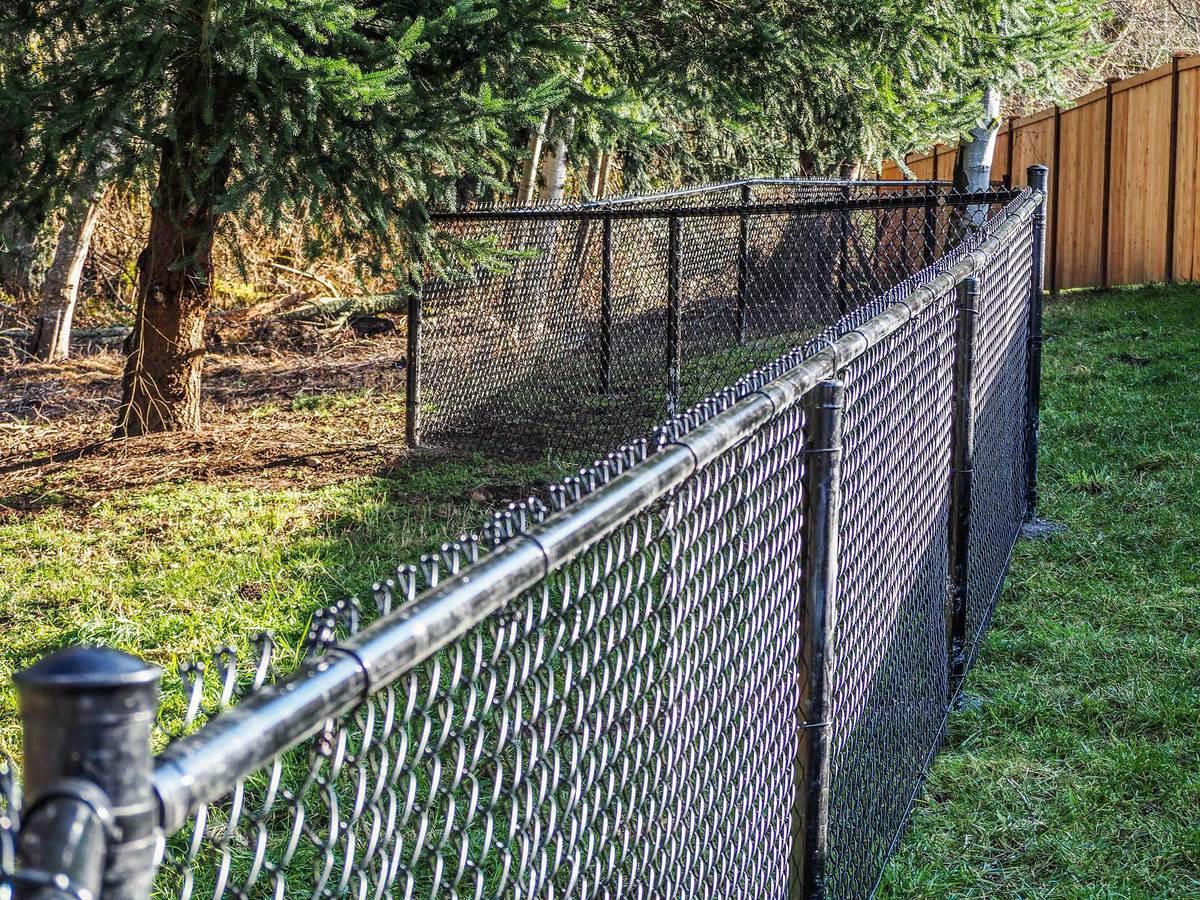
Have you been looking at your yard and wishing for more privacy or security? Maybe you need a safe place for kids or pets to play? Learning how to install a chain link fence might be exactly what you need!
This affordable fencing option can solve many problems while adding value to your property.
We understand that installing a fence might seem like a big job. You might worry about getting it straight or making sure it will last. The good news is that with the right steps, tools, and a little patience, you can do this project yourself and save hundreds of dollars!
In this guide, we'll show you exactly how to install a chain link fence with simple steps anyone can follow.
What You'll Need to Install a Chain Link Fence
Before you start digging, gather these materials and tools:
Tools:
Post hole digger or power auger
Measuring tape
String line
Level
Wheelbarrow (for mixing concrete)
Hammer
Fence stretcher
Pliers
Bolt cutters
Shovel
Materials Needed
Terminal posts (corner, end, and gate posts)
Line posts
Top rail
Chain link fabric (mesh)
Tension wire or bottom rail
Tension bars
Tension bands
Rail caps
Ties
Concrete mix
Gravel
According to Home Depot, having all materials on hand before starting saves time and prevents delays.
Step-by-Step Guide: How to Put Up a Chain Link Fence
1. Plan Your Fence Layout
Check local codes and permits. Contact your local building department to learn about height restrictions and required permits.
Call 811 before digging. The Common Ground Alliance reminds us that this free service marks underground utilities to prevent dangerous accidents.
Mark your fence line. Use stakes and string to outline where your fence will go.
Mark post locations. Terminal posts go at corners, ends, and gates. Line posts are typically spaced 8-10 feet apart.
2. Dig Post Holes
Dig holes for terminal posts first. Make holes 3 times wider than the post diameter and 1/3 the post height deep.
Add 4-6 inches of gravel to the bottom of each hole for drainage.
Dig line post holes following the same guidelines.
According to the Fence Association, proper post depth is crucial for fence stability and longevity.
3. Set Terminal Posts
Mix concrete according to package directions.
Place terminal posts in holes. Make sure they're plumb (perfectly vertical) using a level.
Pour concrete around posts, sloping it away from the post to direct water away.
Let concrete cure for at least 24 hours before continuing.
4. Set Line Posts
String a line between terminal posts at ground level.
Position line posts in holes along the string line.
Check for proper height - all posts should be level with each other.
Pour concrete around each post and let cure.
The International Association of Certified Home Inspectors recommends checking post alignment multiple times before concrete sets.
5. Install Top Rail
Place rail caps on top of each post.
Insert top rail through the rail caps, connecting sections with rail sleeves.
Cut the last section to fit if needed.
6. Install Chain Link Mesh
Unroll the chain link fabric along one end of your fence line.
Attach a tension bar through the first row of diamonds in the mesh.
Connect tension bands around the terminal post and through the tension bar.
Tighten the bands with bolts and nuts.
Stretch the fabric using a fence stretcher tool.
Attach mesh to top rail using wire ties every 24 inches.
Attach mesh to line posts using wire ties every 12 inches.
According to This Old House, proper tension is crucial - the fabric should be tight but not stretched out of shape.
7. Install Bottom Tension Wire
Thread tension wire through bottom of chain link fabric.
Attach wire to terminal posts using tension bands.
Pull wire tight and secure.
8. Install Gates (Optional)
Attach gate hinges to your gate post.
Hang your gate on the hinges.
Install gate latch at desired height.
Adjust gate to ensure proper opening and closing.
Common Mistakes to Avoid When Installing a Chain Link Fence
Not checking for utilities before digging
Setting posts too shallow in the ground
Using too little concrete for post stability
Not allowing concrete to fully cure before adding tension
Stretching mesh too tight which can damage the fabric
Improper spacing between posts
The Consumer Product Safety Commission warns that improperly installed fences can create safety hazards, especially for children.
Tips for Maintaining Your Chain Link Fence
When learning how to put up aluminum fence, watch out for these pitfalls:
Inspect regularly for damage or rust
Clean with mild soap and water annually
Tighten loose hardware as needed
Touch up any rust spots with matching paint
Check tension periodically and adjust if necessary
How Long Should Installing a Chain Link Fence Take?
For a typical backyard (about 150-200 linear feet):
Planning and marking: 2-3 hours
Digging post holes: 4-6 hours
Setting posts: 2-3 hours
Installing top rail: 1-2 hours
Installing mesh: 4-6 hours
Installing gate: 1-2 hours
The American Society of Home Inspectors notes that dividing the project over a weekend allows proper time for concrete to cure.
Conclusion
Now you know the basics of how to install a chain link fence! While it requires some work, the satisfaction of completing this project yourself can be tremendous.
Plus, you'll save a significant amount of money compared to hiring professionals.
Remember that proper planning and patience are key to success. Take your time with each step, especially making sure your posts are level and properly set.
A well-installed chain link fence can last 15-20 years with minimal maintenance.
Have you been considering a fence project for your yard? We hope this guide has given you the confidence to tackle how to install a chain link fence on your own! Let us know in the comments if you have any questions about the process.
4. Maintenance Free Fencing
If you're in Tampa, Spokane or Longview check our local service page for pricing.

© 2026 | All Rights Reserved | Privacy Policy