
How to Install a Vinyl Fence: The Complete DIY Guide
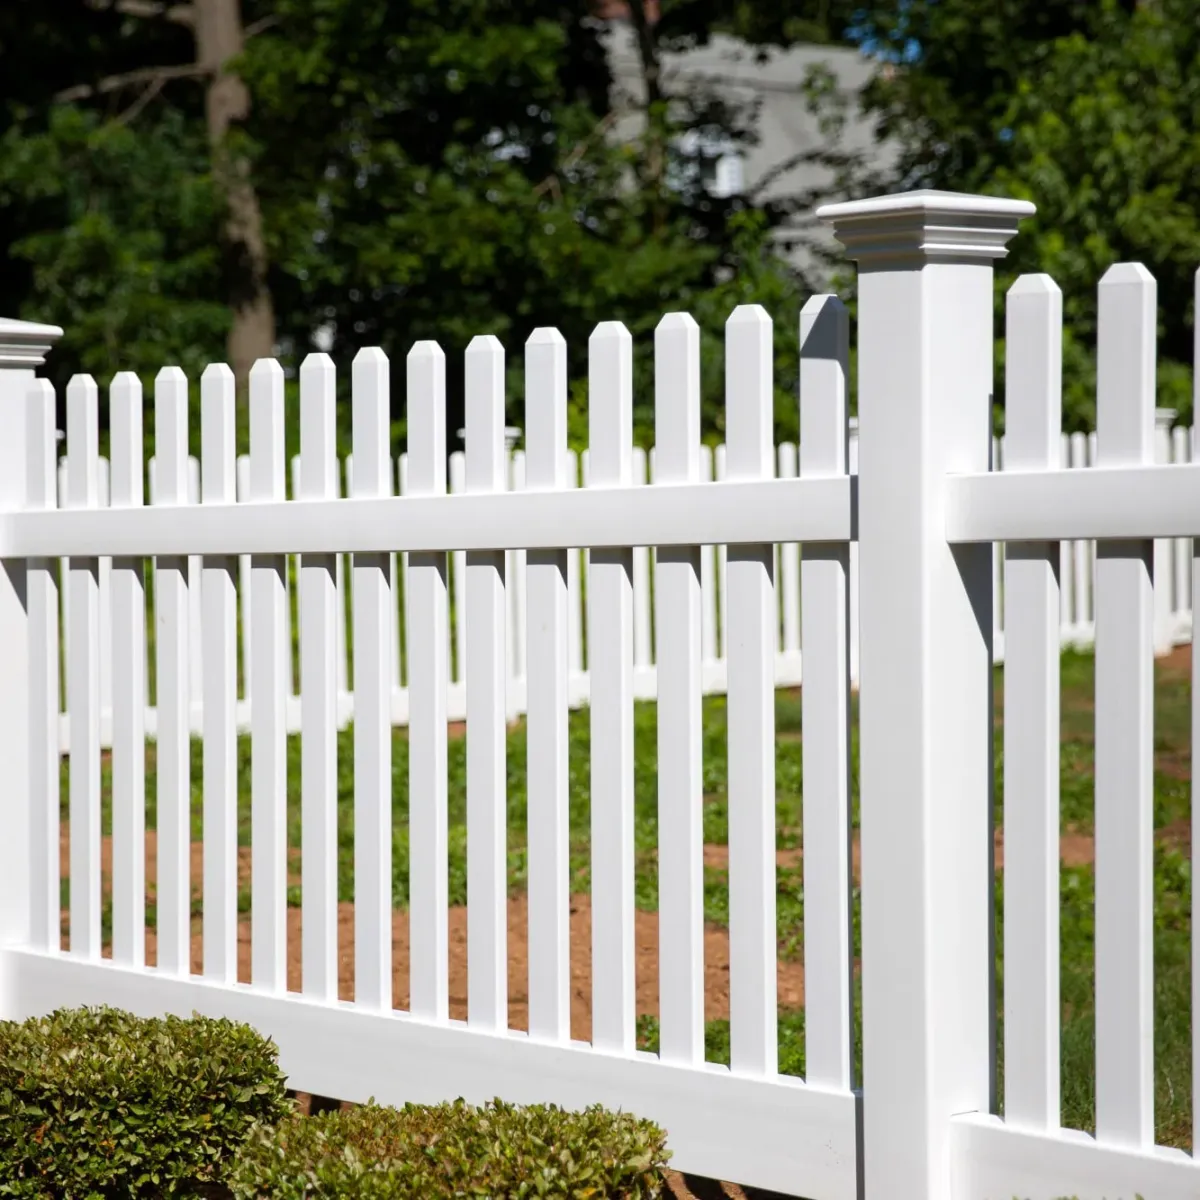
Do you dream of having a beautiful, maintenance-free fence around your yard? You're not alone! Many homeowners want the perfect fence but worry about the cost of professional installation.
The good news is that learning how to install a vinyl fence yourself can save you thousands of dollars while giving you that picture-perfect yard. Unlike traditional wood fencing, which demands regular staining, sealing, and repair, vinyl offers a nearly hands-off alternative that still delivers a polished, upscale look.
We understand that taking on a big project like fence installation might seem scary at first. But don't worry! With the right tools and instructions, you can do this job yourself in a single weekend. This step-by-step guide will walk you through exactly how to install a vinyl fence from start to finish, even if you've never tackled a home improvement project before.
What You'll Need Before Starting
Tools Required
Gather these tools before you begin:
Post hole digger or power auger
Shovel
Tape measure
String and stakes
Level (4-foot recommended)
Rubber mallet
Power drill
Saw (for cutting vinyl)
Wheelbarrow (for mixing concrete)
According to Home Depot, having the right tools can cut your installation time by up to 50%.
Materials Needed
Prepare these materials:
Vinyl fence panels
Vinyl posts
Vinyl post caps
Concrete mix
Gravel (for drainage)
Marking paint or flags
String line
Wood braces (temporary)
Lowe's recommends buying 10% extra materials to account for mistakes or damage.
Planning Your Fence Installation
Checking Local Regulations
Follow these steps before you buy any materials:
Contact your local building department for permit requirements.
Check with your homeowner's association for any restrictions.
Verify property line boundaries with a survey if you're uncertain.
Contact utility companies to mark underground lines.
USA Today reports that skipping permits can result in fines up to $1,000 in some areas.
Mapping Out Your Fence Line
Create your fence plan with these steps:
Mark your property corners using your survey.
Drive stakes at each corner of your planned fence.
Connect stakes with string to visualize the fence line.
Mark post locations along the string (typically 6-8 feet apart).
Use marking paint to indicate post locations on the ground.
According to Better Homes & Gardens, a detailed plan reduces material waste by up to 15%.
How to Put Up a Vinyl Fence
Digging Post Holes
Create proper post holes following these steps:
Dig holes at your marked locations.
Make holes 3 times the width of your posts.
Dig holes to a depth of 1/3 the post height plus 6 inches for gravel.
Add 6 inches of gravel to the bottom of each hole for drainage.
Check hole depth with a tape measure.
This Old House emphasizes that proper hole depth prevents frost heave in cold climates.
Setting Corner Posts First
Install corner posts with these steps:
Place the first corner post in its hole.
Check that the post is plumb (perfectly vertical) using a level.
Brace the post with temporary wooden supports.
Mix concrete according to package directions.
Pour concrete around the post, leaving 2 inches at the top.
Slope the concrete away from the post for water runoff.
Let concrete set according to manufacturer's instructions (typically 24-48 hours).
Family Handyman notes that setting corner posts first helps ensure your fence lines are straight.
Installing Line Posts
Set the remaining posts with these steps:
Stretch a string line between corner posts at the proper height.
Use the string as a guide for post height and alignment.
Place each line post in its hole.
Check that it's plumb and aligned with the string.
Secure with temporary braces.
Pour concrete and slope as with corner posts.
Check height and alignment once more before concrete sets.
According to Popular Mechanics, posts that are even 1/4 inch off can create visible problems in your finished fence.
How Do I Install A Vinyl Fence Panel?
Attach fence panels with these steps:
Wait until all post concrete has fully cured (24-48 hours).
Remove temporary braces.
Slide the bottom rail of a panel into the post notches.
Snap the top rail into place.
Use a rubber mallet to gently tap components together if needed.
Continue adding panels between posts.
Cut the last panel to fit if necessary using a fine-tooth saw.
HGTV recommends working with a partner to make panel installation easier.
Adding Post Caps and Final Touches
Complete your fence with these steps:
Apply vinyl glue to the inside of post caps.
Press caps firmly onto posts.
Wipe away any excess glue immediately.
Clean the entire fence with mild soap and water.
Touch up any scuffs or marks.
Consumer Reports states that properly installed caps can extend fence life by preventing water damage.
Common Problems and Solutions
Dealing with Slopes
Handle sloped terrain with these options:
Stepped installation (recommended for steeper slopes)
Racked panels (for gradual slopes)
Custom-cut panels (for unusual terrain)
Follow the manufacturer's guidelines for maximum rack allowance.
Landscaping Network advises that most vinyl fences can only rack 1-2 inches per 6-foot section.
Fixing Alignment Issue
Correct problems with these solutions:
Adjust posts before concrete fully sets
Use a rubber mallet to gently adjust panels
Check for plumb and level frequently during installation
DIY Network suggests rechecking your work every 3-4 posts to catch problems early.
Conclusion
Congratulations! By following these steps, you've successfully learned how to install a vinyl fence that will beautify your yard for years to come. The satisfaction of completing this project yourself is matched only by the money you've saved on professional installation.
Remember that taking your time with measuring and leveling will give you the best results. With proper installation, your new vinyl fence should last 20-30 years with minimal maintenance. Now that you know how to install a vinyl fence, you can enjoy your private, beautiful outdoor space for decades!
4. Maintenance Free Fencing
If you're in Tampa, Spokane or Longview check our local service page for pricing.

© 2026 | All Rights Reserved | Privacy Policy