
How to Install an Aluminum Fence: The Complete DIY Guide
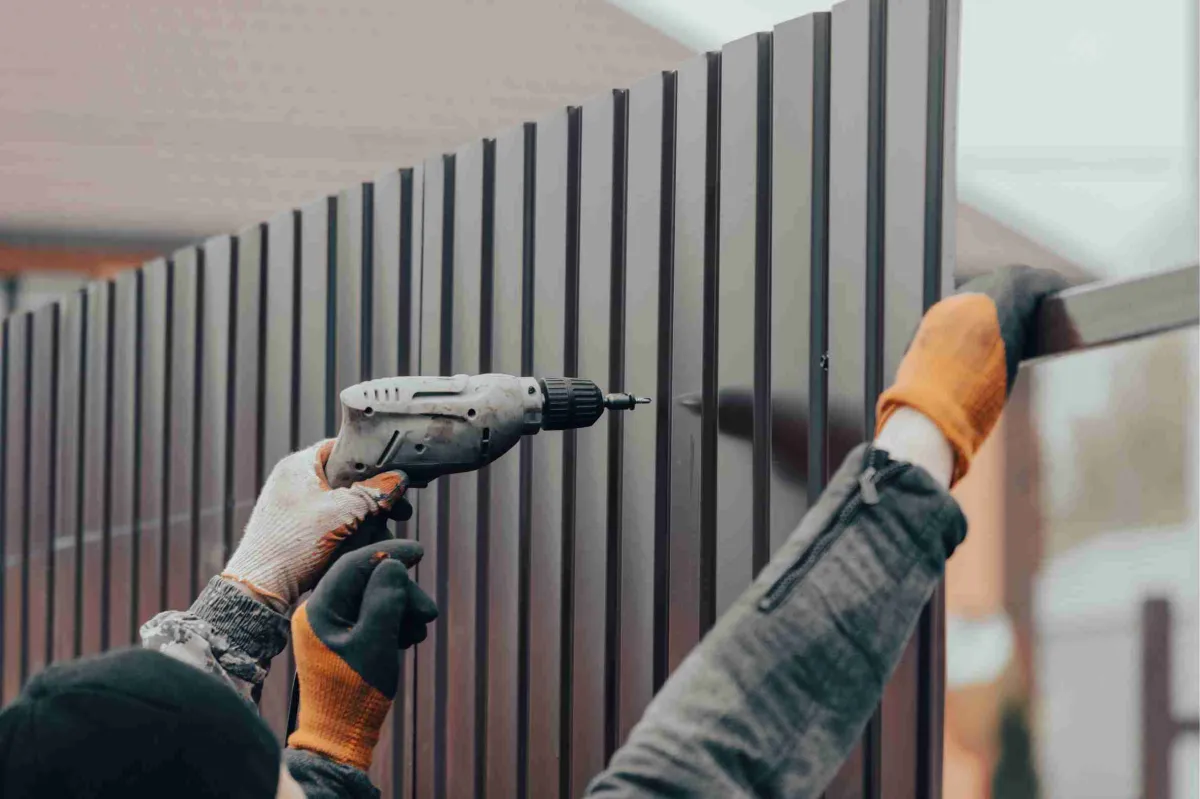
Are you dreaming of a beautiful, low-maintenance fence that adds security and curb appeal to your home? An aluminum fence might be exactly what you need! Learning how to install an aluminum fence yourself can save you hundreds or even thousands of dollars in professional installation costs.
Are you dreaming of a beautiful, low-maintenance fence that adds security and curb appeal to your home? An aluminum fence might be exactly what you need! Learning how to install an aluminum fence yourself can save you hundreds or even thousands of dollars in professional installation costs.
We understand that tackling a fence project might seem overwhelming at first. You may worry about getting measurements wrong or creating something that isn't perfectly straight. The good news is that aluminum fencing is actually one of the most DIY-friendly options available, and unlike vinyl fencing, which requires special hardware and thermal expansion allowances, aluminum's rigid panels and straightforward bracket system make it especially forgiving for first-time DIYers.
In this step-by-step guide, we'll walk you through the entire process of installing your aluminum fence. With our clear instructions and helpful tips, you'll have a beautiful new fence before you know it!
What You'll Need to Install an Aluminum Fence
Before starting your project, gather these essential tools and materials:
Tools:
Tape measure
String or mason's line
Wooden stakes
Level (4-foot recommended)
Post hole digger or power auger
Shovel
Wheelbarrow (for mixing concrete)
Rubber mallet
Hacksaw or metal-cutting saw
Drill with bits
Adjustable wrench
Materials Needed
Aluminum fence panels
Aluminum fence posts
Aluminum post caps
Concrete mix
Gravel for drainage
Self-tapping screws
Gate hardware (if installing a gate)
According to Home Depot, most residential aluminum fence installations require about one post for every 6 feet of fencing.
How to Put Up Aluminum Fence: Step-by-Step Instructions
Step 1: Plan Your Fence Layout
Check local building codes and HOA restrictions before starting
Contact your utility companies to mark underground lines
Measure and mark your fence perimeter with stakes and string
Mark post locations (typically 6 feet apart) along the string line
The International Association of Certified Home Inspectors recommends checking property lines carefully to avoid neighbor disputes.
Step 2: Prepare for Installation
Gather all materials and tools before starting
Organize your fence sections, posts, and hardware
Make sure your layout markings are still visible and accurate
Step 3: Dig Post Holes
Dig holes at your marked post locations
Make holes about 3 times the diameter of your posts (usually 8-10 inches wide)
Dig to a depth of 1/3 the post height plus 6 inches for gravel
Add 6 inches of gravel to the bottom of each hole for drainage
This Old House experts note that proper drainage prevents frost heave, which can push posts out of the ground in cold climates.
Step 4: Set Corner and End Posts First
Place your corner and end posts in their holes
Make sure they're centered in the holes
Check that each post is perfectly level using your 4-foot level
Adjust the depth or add gravel as needed to achieve proper height
Brace posts temporarily with stakes and boards
Step 5: Mix and Pour Concrete
This is where your fence really takes shape:
Mix concrete according to package directions
Pour concrete around each post, filling to about 3 inches below ground level
Use your level frequently to ensure posts remain straight
Allow concrete to set according to manufacturer's directions (usually 24-48 hours)
Sakrete, a leading concrete manufacturer, recommends not disturbing posts for at least 24 hours after pouring concrete.
Step 6: Install Fence Panels
Start at a corner or end post
Slide the first panel's horizontal rails into the post brackets
Position the next post at the other end of the panel
Check that the post is level before securing it
Secure with self-tapping screws according to manufacturer's instructions
Repeat for remaining panels
Step 7: Cut Panels to Fit (If Necessary)
Measure the space where a full panel won't fit
Mark your cutting line on the panel
Cut with a hacksaw or metal-cutting saw
File any rough edges smooth
Install as normal
Family Handyman suggests measuring twice and cutting once to avoid costly mistakes with aluminum panels.
Step 8: Install Gates
Assemble the gate according to manufacturer's instructions
Attach hinges to the gate and gate post
Hang the gate on the post
Install the latch hardware
Check that the gate swings freely and latches properly
Adjust hinges if needed
Step 9: Add Finishing Touches
Install post caps on all posts
Check that all screws and brackets are tight
Clean any dirt or marks from your new fence
According to Better Homes & Gardens, post caps not only look nice but also protect posts from water damage.
Tips for a Professional-Looking Aluminum Fence
Follow these expert tips to make your DIY fence look professionally installed:
Take your time with measurements – Rushing leads to mistakes
Use a string line during installation to keep everything straight
Check for level and plumb frequently as you work
Leave a small gap (about 2 inches) between the bottom of the fence and the ground
Clean your fence after installation with mild soap and water
Common Mistakes to Avoid
When learning how to put up aluminum fence, watch out for these pitfalls:
Skipping the utility line check – This can be dangerous and expensive
Not checking local codes – You might have to tear down non-compliant work
Using too little concrete – Posts may shift or lean over time
Rushing the concrete curing time – This can cause alignment issues
Forcing panels to fit – This can damage the aluminum
A study by Consumer Reports found that DIY fence projects most often fail due to improperly set posts.
Conclusion
Congratulations! By following these steps on how to install an aluminum fence, you've gained the knowledge you need to complete this satisfying home improvement project. Not only have you saved money on installation costs, but you now have a beautiful, durable fence that will enhance your property for years to come.
Remember that proper planning and patience are key to a successful fence installation. Take your time with each step, check your measurements carefully, and don't hesitate to ask for help if you need it. With the right approach, your new aluminum fence will look as good as a professional installation!
Have you installed aluminum fencing before? We'd love to hear about your experience in the comments below!
4. Maintenance Free Fencing
If you're in Tampa, Spokane or Longview check our local service page for pricing.

© 2026 | All Rights Reserved | Privacy Policy