
Pressure Wash Fence Before Staining: Your Complete Guide
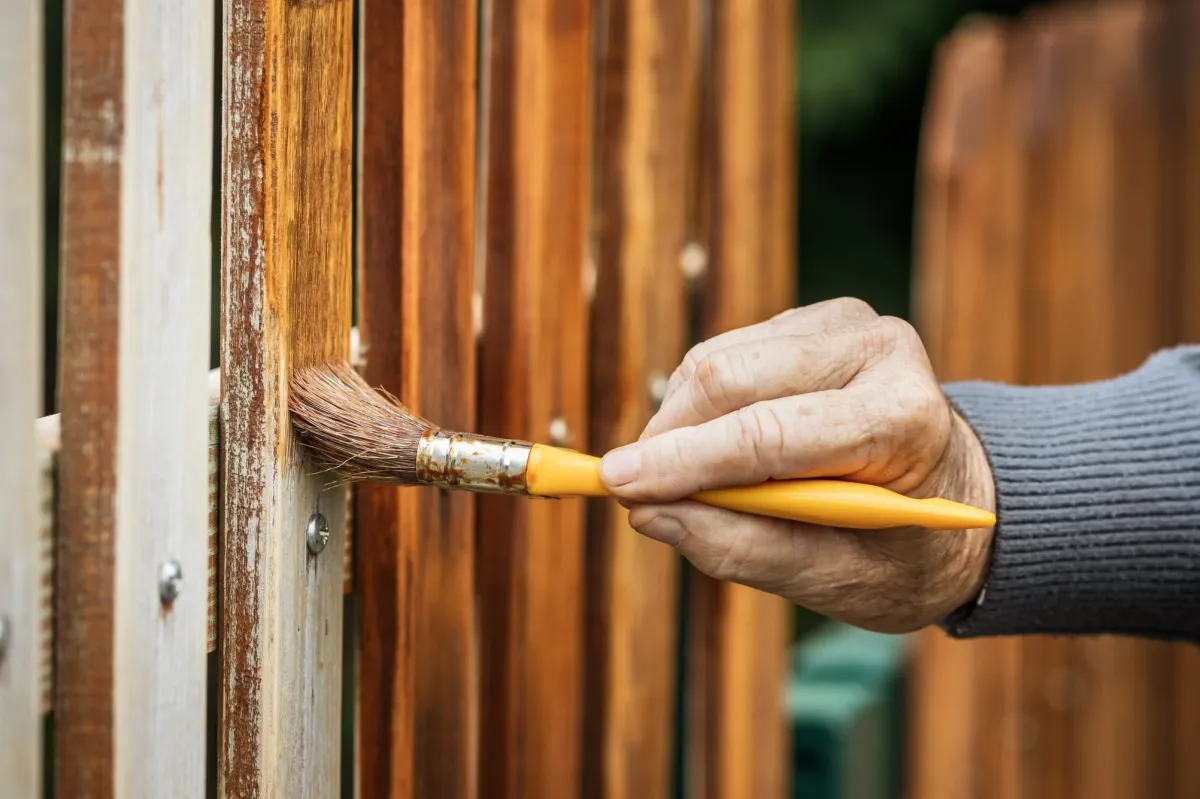
Is your fence looking tired and worn? You might be wondering if you need to pressure wash fence before staining it. The answer is yes! We're here to guide you through this essential step that will make your fence staining project a complete success.
Think of your fence like a sponge - it needs to be clean before it can soak up new stain properly. Let's walk through everything you need to know about preparing your fence for a beautiful new finish.
Why Pressure Wash Your Fence?
According to the Pressure Washer Manufacturers' Association, proper cleaning can extend your fence's life by years. Here's why you should power wash fence before staining:
Removes old stain and dirt
Opens wood pores
Prevents peeling
Ensures even staining
Kills mold and mildew
Required Equipment
Essential Tools
Gather these primary tools before starting:
Pressure washer (1500-2500 PSI)
Safety goggles
Work gloves
Closed-toe shoes
Wood cleaner
Garden hose
Drop cloths
Plastic sheeting
Additional Helpful Items
Consider these optional but useful tools:
Extension wand for tall sections
Surface cleaner attachment
Multiple spray tips
Cleaning brushes
Moisture meter
pH testing strips
Work platform
First aid kit
Cleaning Solutions
Choose from these effective options:
Commercial wood cleaners
Oxygen bleach solutions
Mold and mildew removers
Wood brighteners
Natural cleaning alternatives
pH-neutral detergents
Step-by-Step Process
1. Preparation
Clear area around fence
Cover nearby plants
Check weather forecast
Test pressure washer
Put on safety gear
2. Initial Inspection
Check for loose boards
Mark damaged areas
Remove visible debris
Secure wobbly posts
Note heavily soiled spots
3. Cleaning Solution Application
Mix wood cleaner per instructions
Apply to dry fence
Let sit for 10-15 minutes
Keep surface damp
Don't let solution dry
4. Pressure Washing Technique
Follow these steps to power wash fence before staining:
Start with low pressure
Hold nozzle 12-18 inches away
Move in steady strokes
Work top to bottom
Maintain consistent distance
Overlap each pass slightly
Tips for Success
Pressure Settings
The Wood Products Council recommends:
Softwoods: 500-800 PSI
Hardwoods: 1200-1500 PSI
Composite: 1500-2000 PSI
Nozzle Selection
Choose the right spray pattern:
25-degree: General cleaning
40-degree: Delicate areas
15-degree: Tough spots
Never use 0-degree
Troubleshooting Common Problems
Water Issues
Uneven Cleaning
Check nozzle for clogs
Maintain consistent distance
Use overlapping patterns
Adjust pressure settings
Clean in sections
Wood Damage
Reduce pressure immediately
Increase working distance
Switch to wider spray pattern
Document damaged areas
Allow thorough drying
Poor Dirt Removal
Pre-treat stubborn areas
Use appropriate cleaner
Make multiple passes
Try different angles
Consider scrubbing tough spots
Equipment Problems
Pressure Washer Issues
Check fuel/power supply
Inspect hose connections
Clean intake filter
Verify water supply
Test different nozzles
Cleaner Application
Mix solutions properly
Apply evenly
Maintain wet surface
Watch dwell time
Rinse thoroughly
Weather and Timing Considerations
Best Weather Conditions
According to meteorological experts, ideal conditions include:
Temperature: 50-90°F
Humidity: Below 70%
Wind: Less than 10 mph
Cloud cover: Partial
No rain forecast for 48 hours
Morning start time preferred
Seasonal Timing
Plan your project during:
Early spring
Late summer
Early fall
Dry weather periods
Moderate temperatures
Low pollen counts
Project Scheduling
Consider these factors:
Work direction (avoid sun)
Daily temperature changes
Dew point predictions
Local weather patterns
Daylight hours
Neighborhood quiet hours
Testing Wood Readiness
Perform these tests:
Water Test
Sprinkle water on wood
Should absorb quickly
Beading means more cleaning
Touch Test
Feel wood surface
Should be rough, not fuzzy
No visible dirt
Special Situations
Old Fences
Extra steps for aged wood:
Use gentler pressure
Make multiple passes
Apply wood brightener
Consider wood hardener
Check for rot
Painted Fences
Additional considerations:
Test paint adhesion
Use paint stripper first
Make more gentle passes
Check lead content
Consider professional help
Safety Considerations
Important safety tips:
Wear eye protection
Use ear protection
Maintain firm footing
Watch for kickback
Protect power cords
Stay away from power lines
Environmental Protection
Protect your surroundings:
Cover plants
Collect runoff
Use eco-friendly cleaners
Avoid chemical overspray
Protect soil
Consider wildlife
Aftercare and Next Steps
Post-Cleaning Inspection
Check these elements after cleaning:
Board stability
Nail/screw security
Surface texture
Moisture content
Color evenness
Mold presence
Splinter removal
Surface Preparation
Before staining, ensure:
Complete drying
Light sanding if needed
Debris removal
Hardware tightening
Gap filling
Damage repair
Final cleaning
Whether you're refinishing an existing fence or working through the final steps of how to build a wood fence from scratch, proper surface prep before staining makes the difference between a finish that lasts for years and one that starts peeling within months.
Documentation
Record these details:
Cleaning date
Products used
Problem areas
Repairs made
Weather conditions
Drying time
Photos taken
Maintenance Planning
Create a schedule for:
Regular inspections
Minor repairs
Seasonal cleaning
Stain touch-ups
Hardware checks
Moisture monitoring
Professional assessments
Professional vs. DIY
Consider these factors:
Project size
Time available
Equipment costs
Skill level
Physical ability
Budget constraints
Conclusion
Taking the time to properly pressure wash fence before staining is crucial for a beautiful, long-lasting finish. By following these steps and precautions, you'll create the perfect surface for staining your fence.
Want more home improvement tips? Check out our other helpful guides for maintaining your outdoor spaces!
4. Maintenance Free Fencing
If you're in Tampa, Spokane or Longview check our local service page for pricing.

© 2026 | All Rights Reserved | Privacy Policy